
Hot stamping lures
Hot stamping: How to get started
Hot stamping fishing lures is pretty easy. Big companies use a hot stamping machine for this which speeds up the process, but it is perfectly doable by hand and anyone can do this at home with the right tools!
What you need:
- 2 thick heat resistant hot stamping mats
- Clothing iron
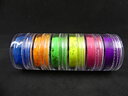
- Quality hot stamping foil
- (not water based) primer paint
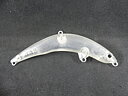
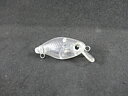
- Fishing lures blanks
Step 1: Prime your lure
To get started you need to prime your lures first. This is best done with a non-water based primer paint. Water based primers won't adhere as well with the foil as chemical based paints.
So the first step is to prime your lure. I like to use a car spray paint. These are easy to come by and are most of the time not water based. 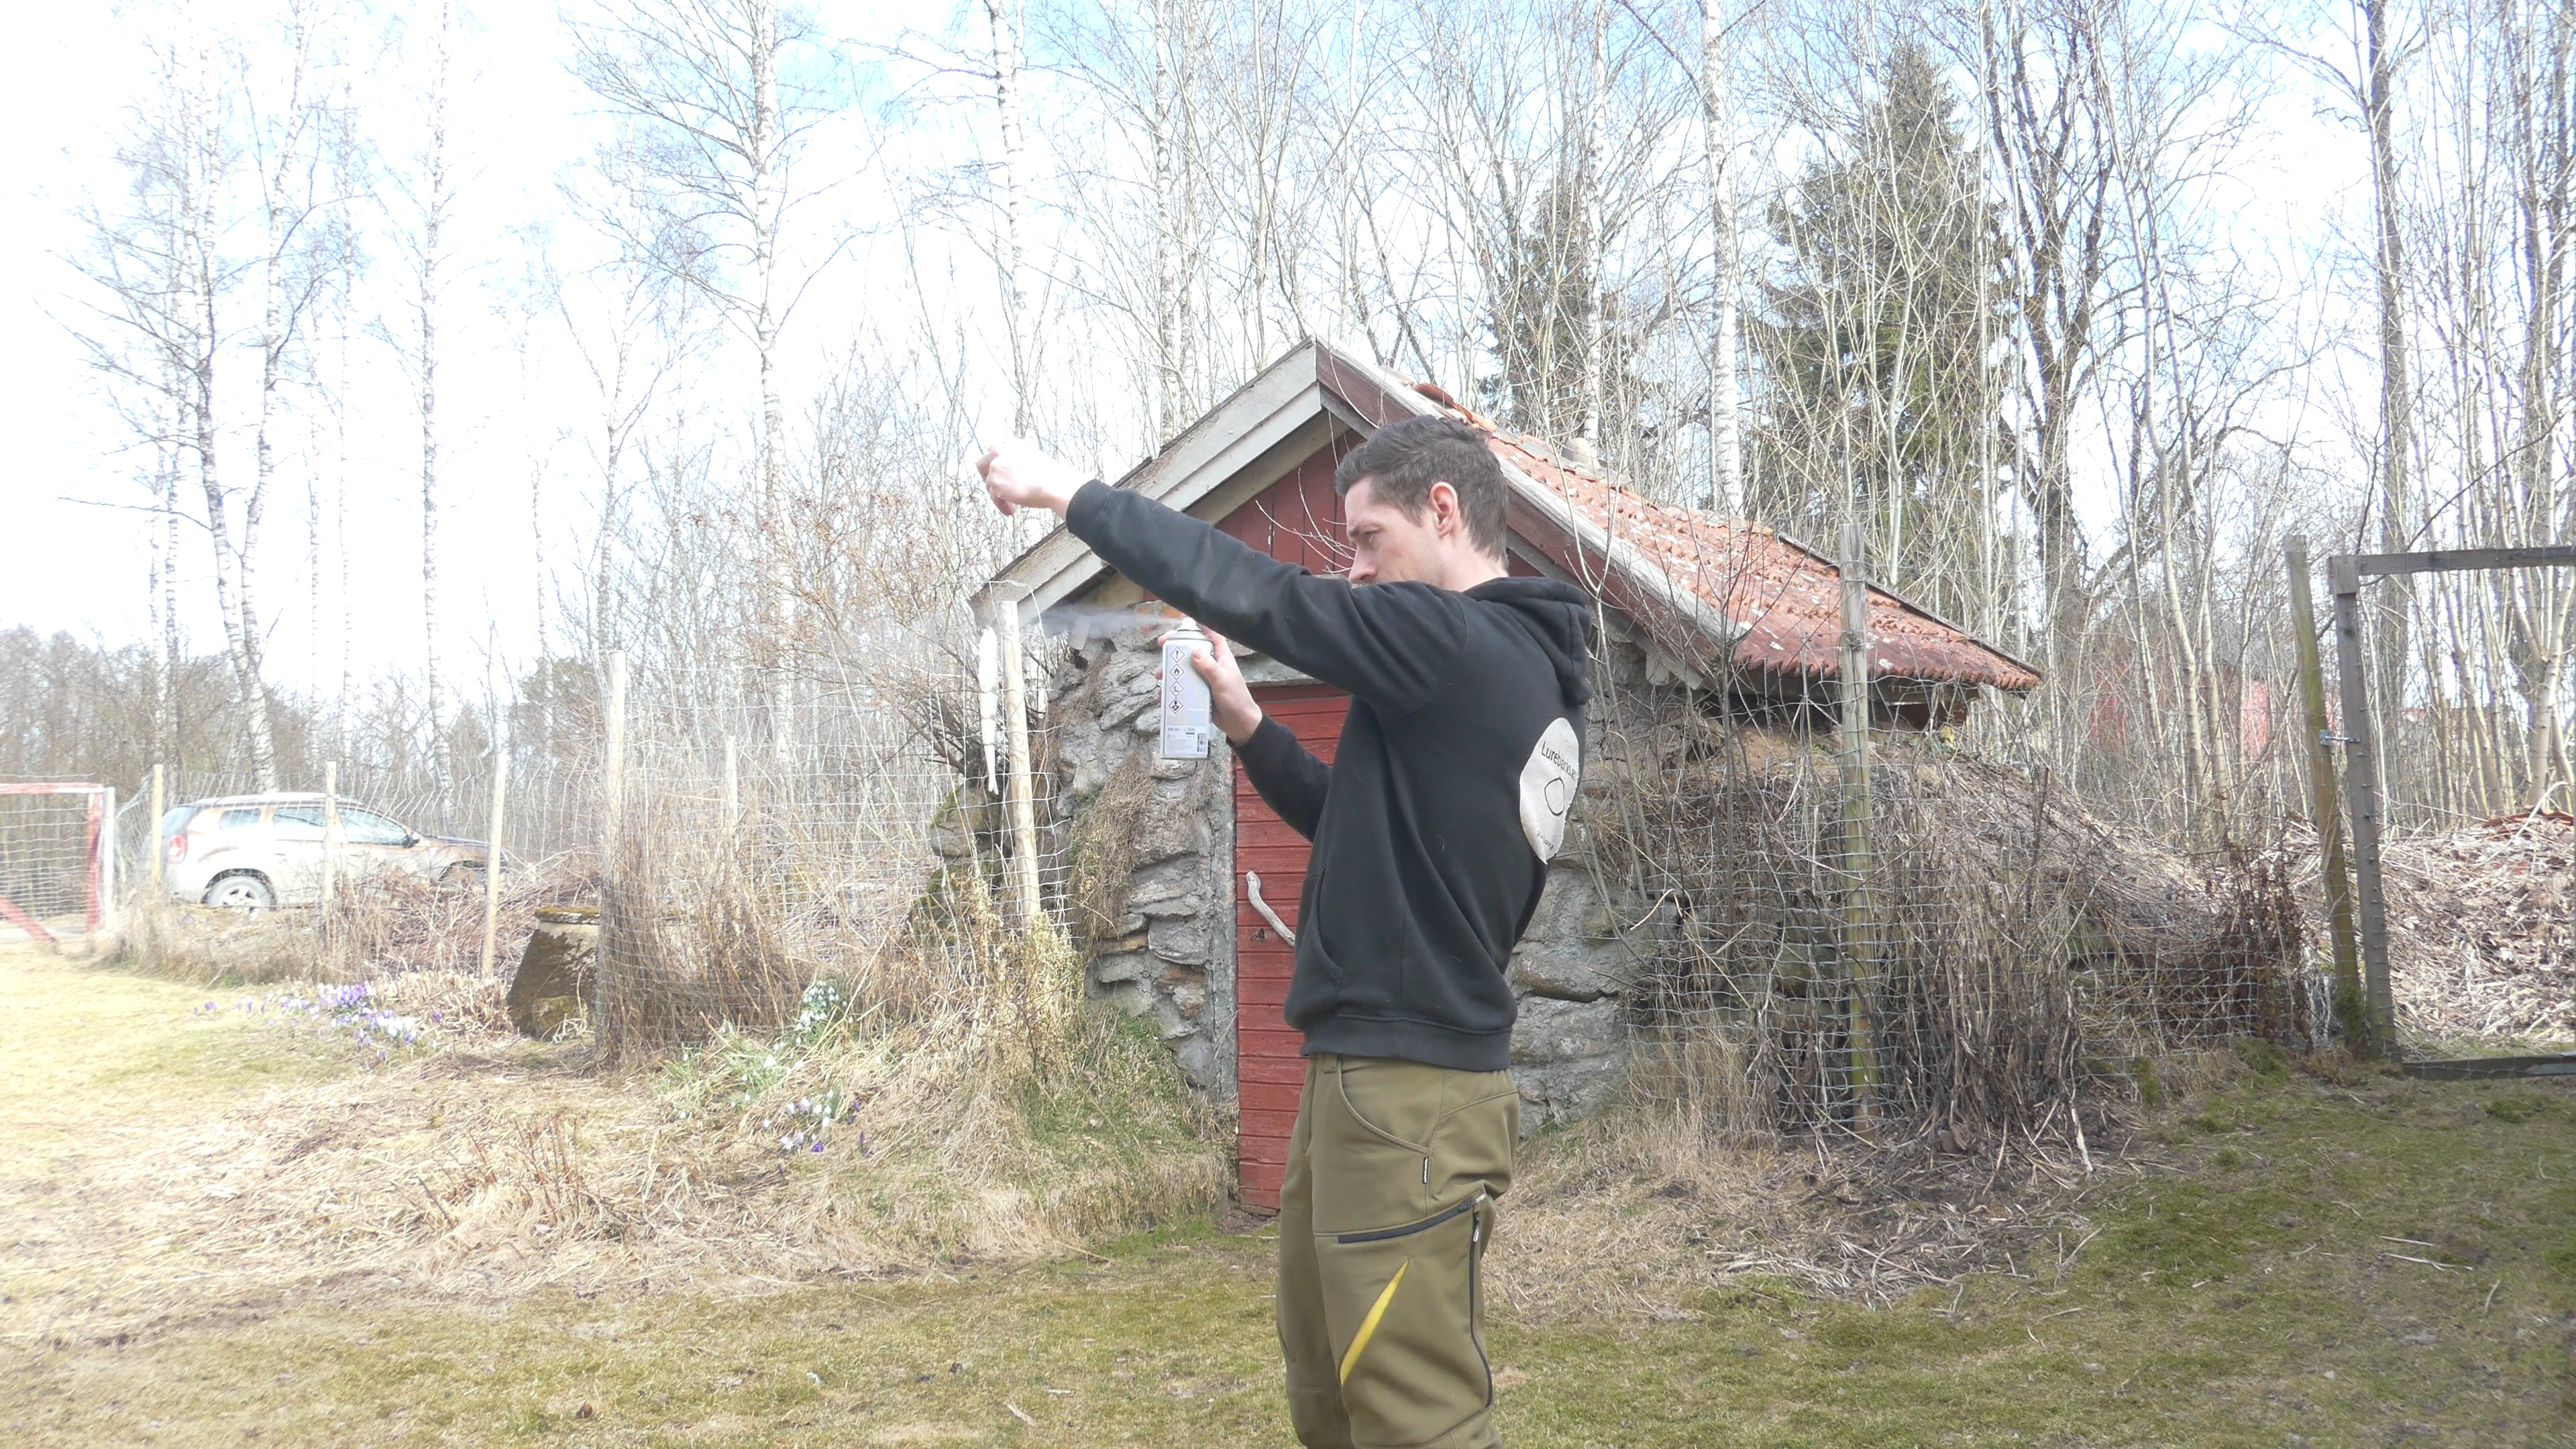
I always spray my lures outside so that I do not breathe in any chemicals. This also allows me to work with the lures directly afterwards in my studio.
Step 2: Heat your stamping mat
While you are waiting for your primer to dry you can start heating your hot stamping mat. I like to use a simple clothing iron for this. The temperature is easy to regulate and it’s easy working. In a second hand store you can get one really cheap.
The ideal temperature that I found for hot stamping, with the primer which I use, is 160 degrees Celsius (or 320 Fahrenheit). This is the wool function on my iron. Now this may differ a little depending on what paint you are using, the only way to find out what works for you is by trying a little but usually 160 celsius will do the trick just fine.
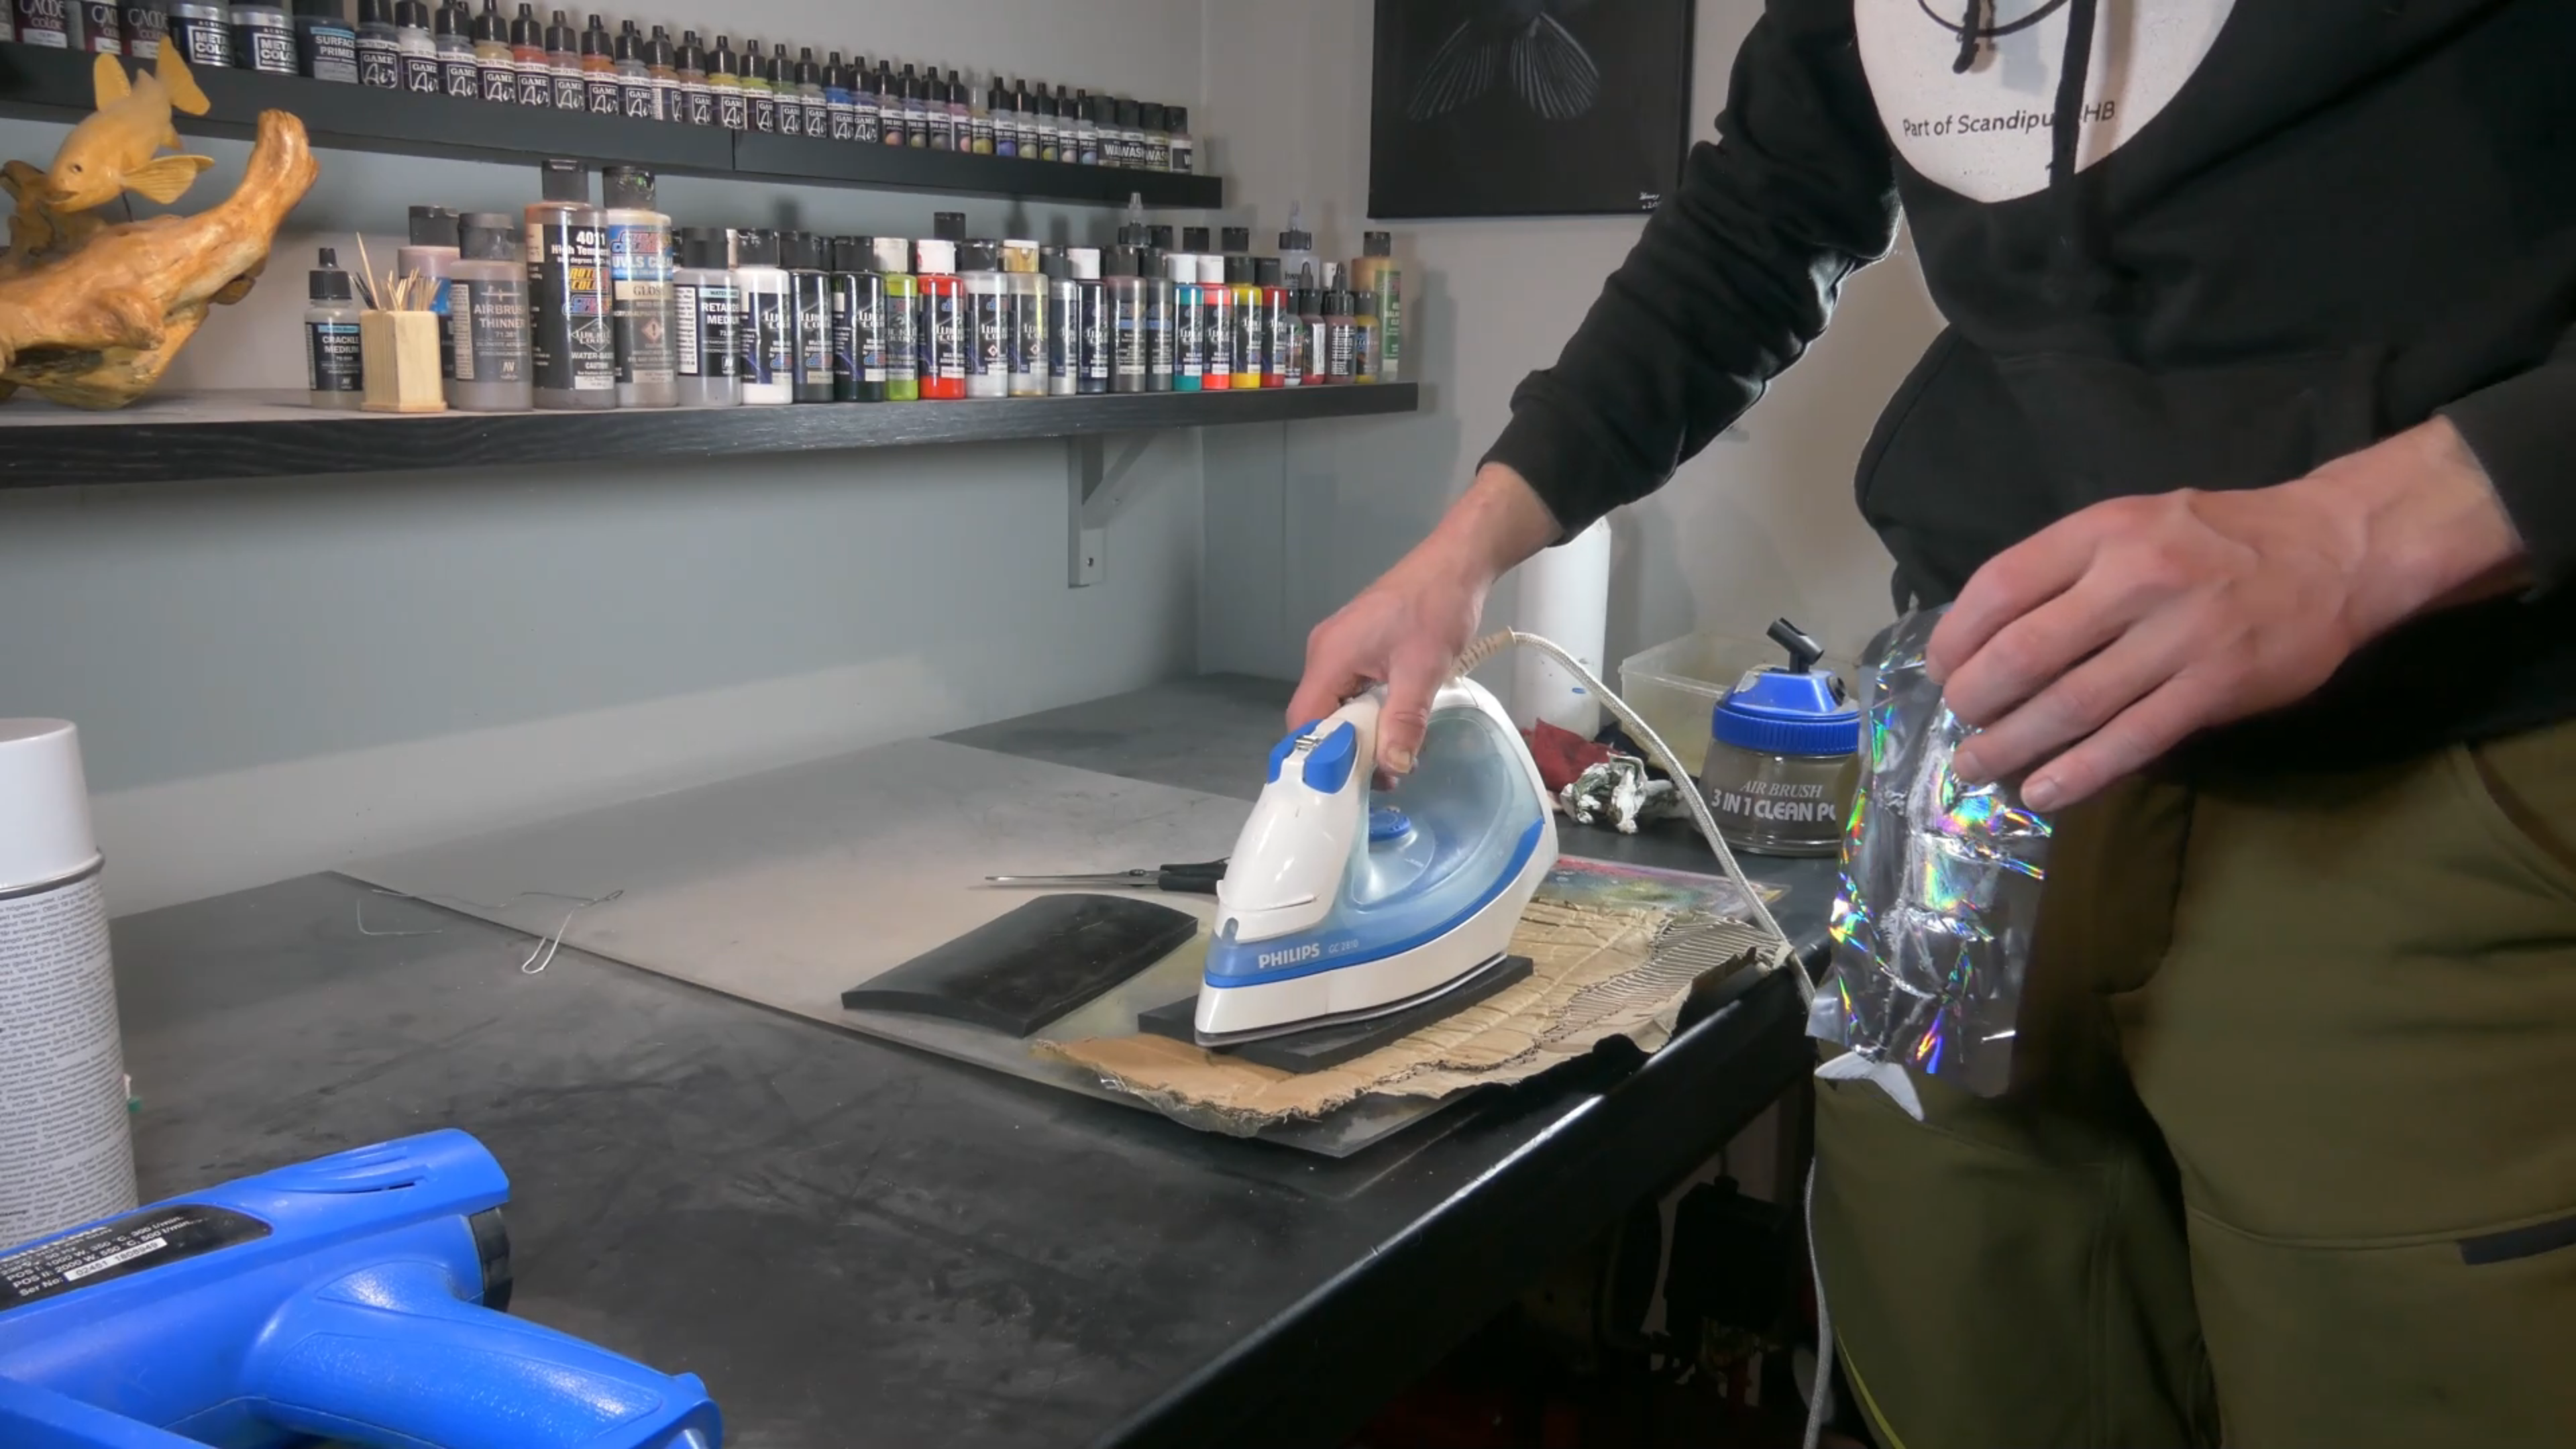
Preheating the hot stamping mat before I hot stamp this swimbait, I just let the iron sit on the mat until it turns off and has the right temperature.
Step 3: Press the foil onto your lure
While waiting for your mat to get warmed up, I like to cut the pieces of foil in the right length already, so I can switch sides fast and smoothly.
Simply place your foil onto the warm mat with the inside (silver dull side of the foil) upwards. Place your lure onto the foil and then place the cold second hot stamping mat on top of the lure.
Start pressing with your hand as hard as you can, I like to lean over and use my weight to press on the mat. Move your hands around and use your fingers to make sure you have pressed everywhere on the entire lure a few times. This is to make sure that you have stamped the entire lures and also all the details of it.
When you have pressed the foil onto the lure, simply take it off the mat and DO NOT remove the foil yet, leave it on there. Heat your mat again for a few seconds and repeat the same process to the other side of the lure, while the foil is still on the first side. Be careful now while moving your hands to make sure that you do not damage the foil you stamped before. This is easily damaged by friction or rubbing of the mat on the foil.
Once both sides are stamped, leave the lure to cool off and rest. This way the primer can cool down as well and bond with the foil.
It is important to use a quality hot stamping foil for this. Otherwise the results will not be smooth and the foils holographic effect is likely to get dull when clear coated. This will not happen if you use the right foils.

Applying pressure in different places and using my fingers to make sure every detail is hot stamped.

About to hot stamp the other side while the foil is still on top of the lure.
Step 4: Remove the foil
Now that your lure has cooled off you can start removing the foil slowly and admire the mesmerizing effect a holographic hot stamping foil gives.
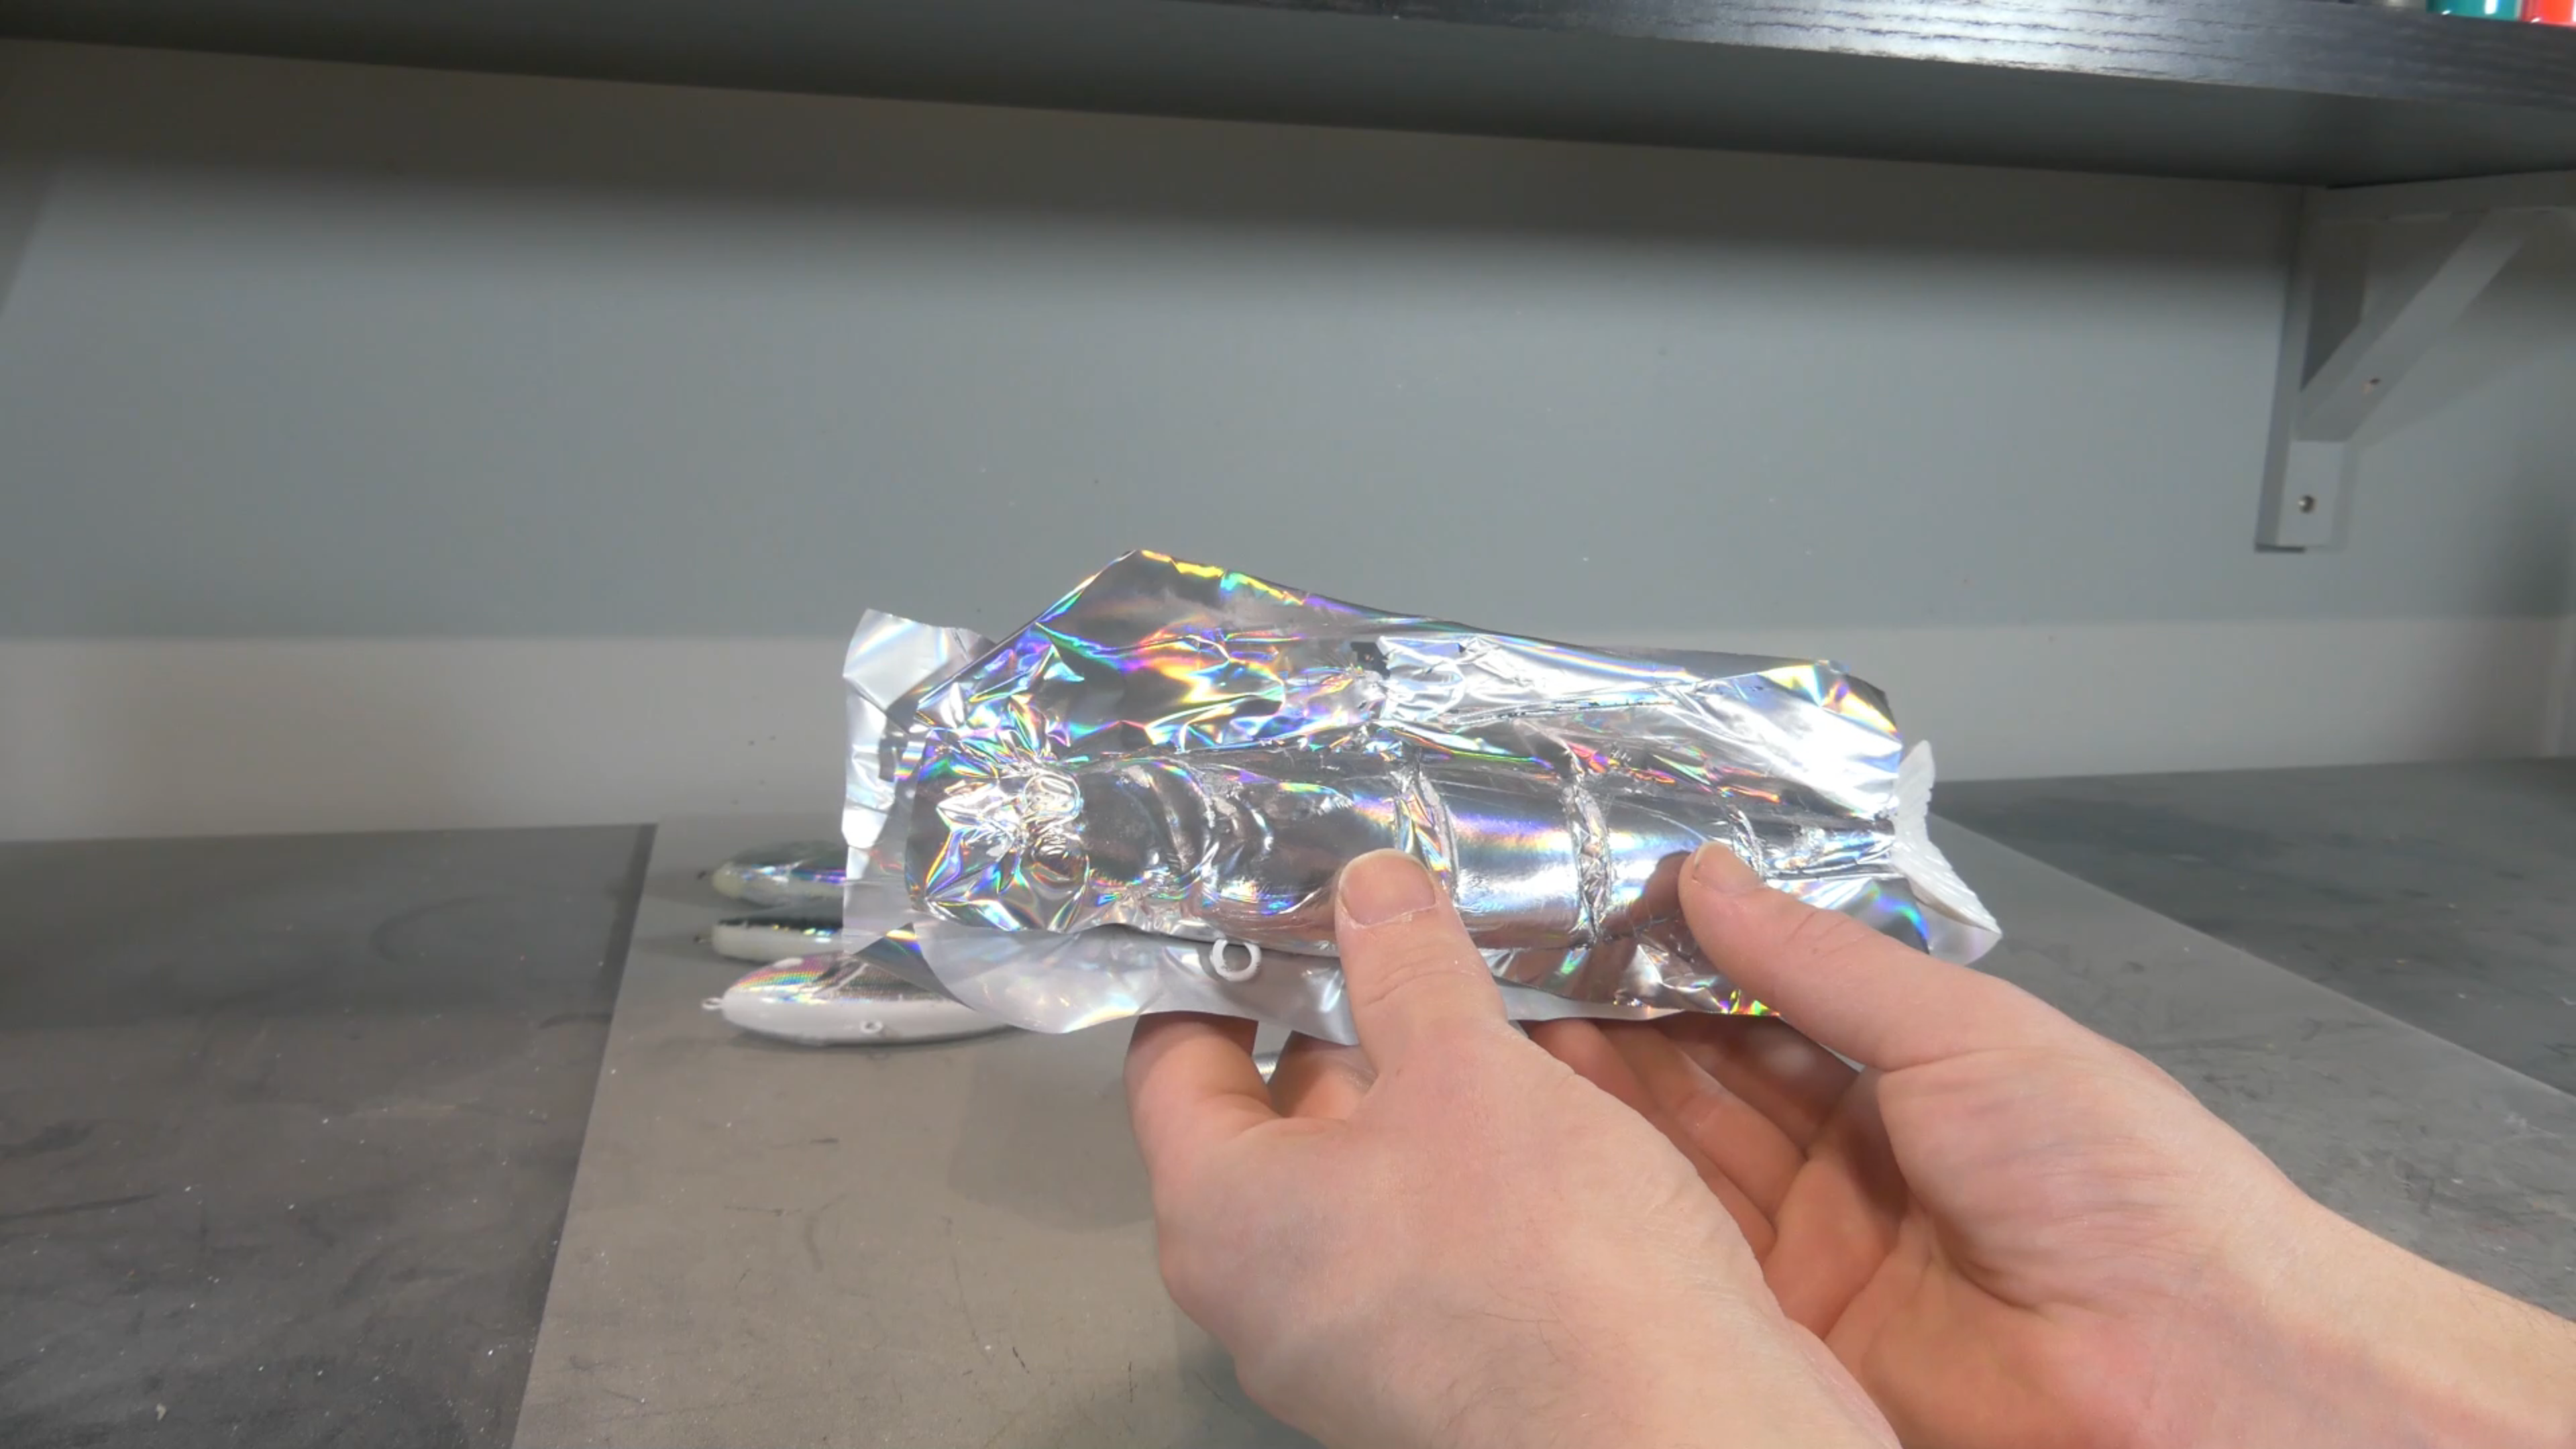
All cooled down and ready to remove the foil.
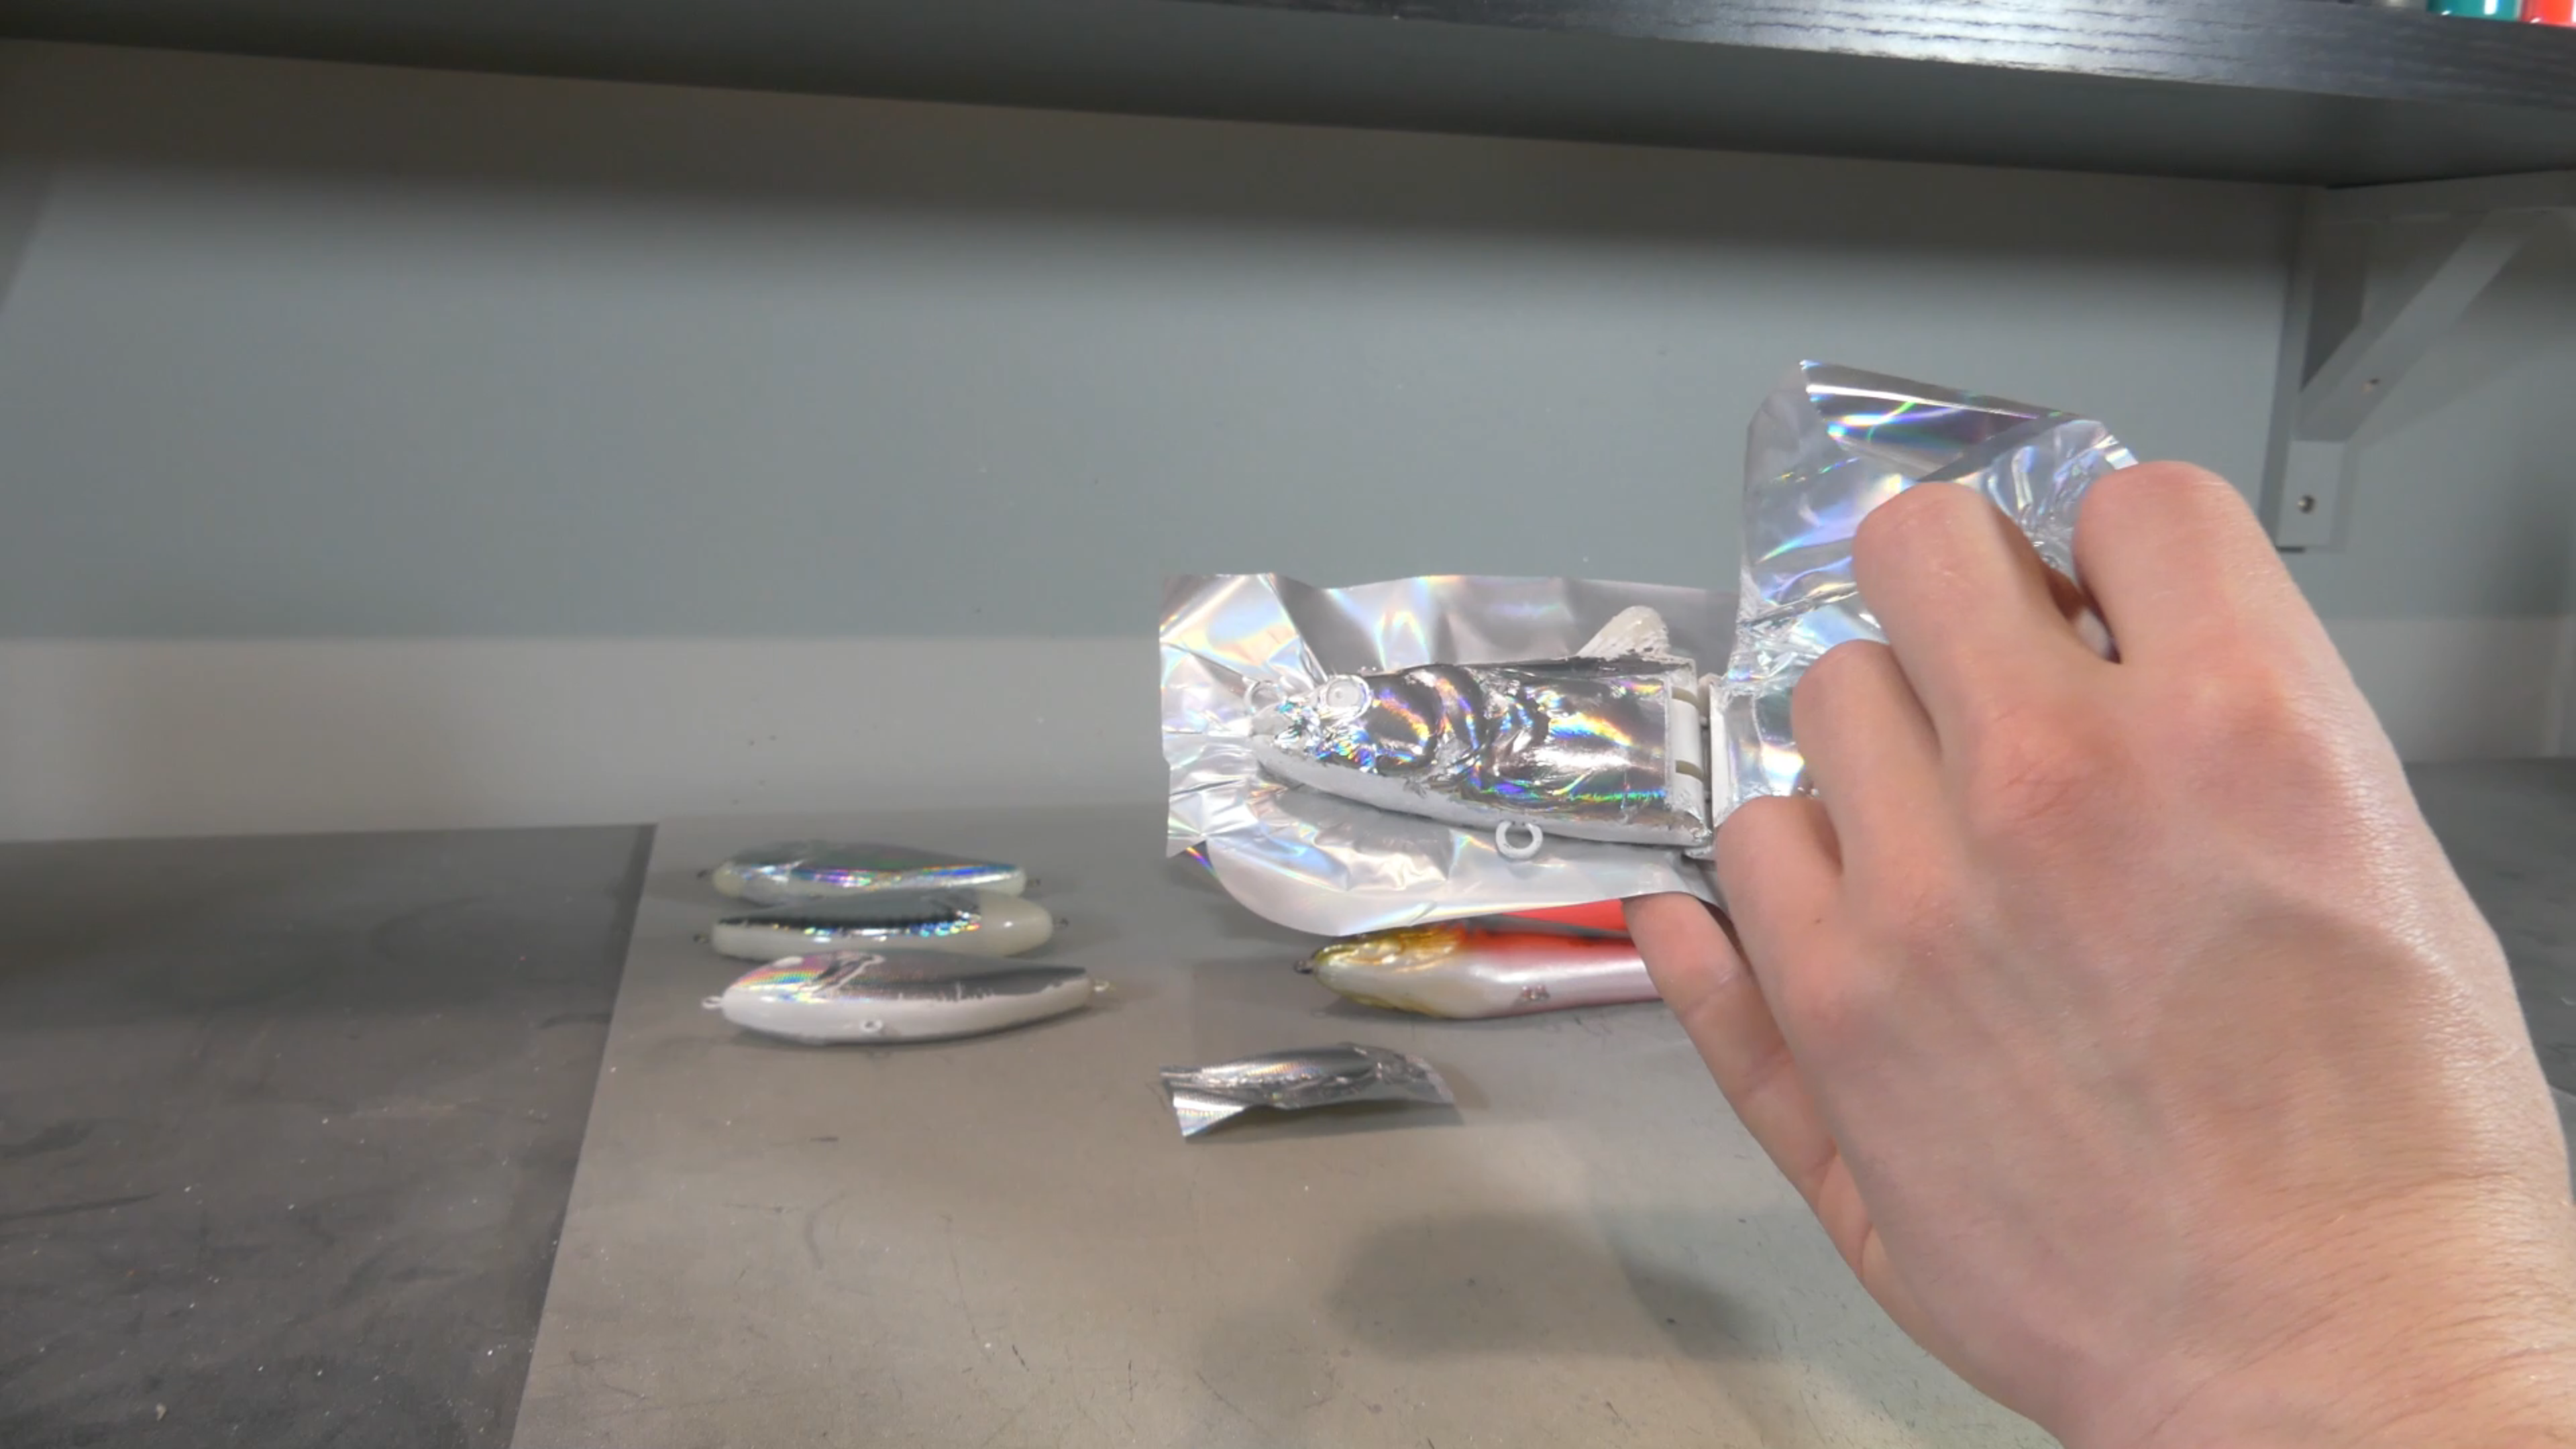
This is the most satisfying part of hot stamping, removing the foil.
Step 5: Paint your hot stamped lure
Now you can start painting your hot stamped lure! You can paint directly onto the foil without any problems. In this case I painted on a holographic scale pattern foil.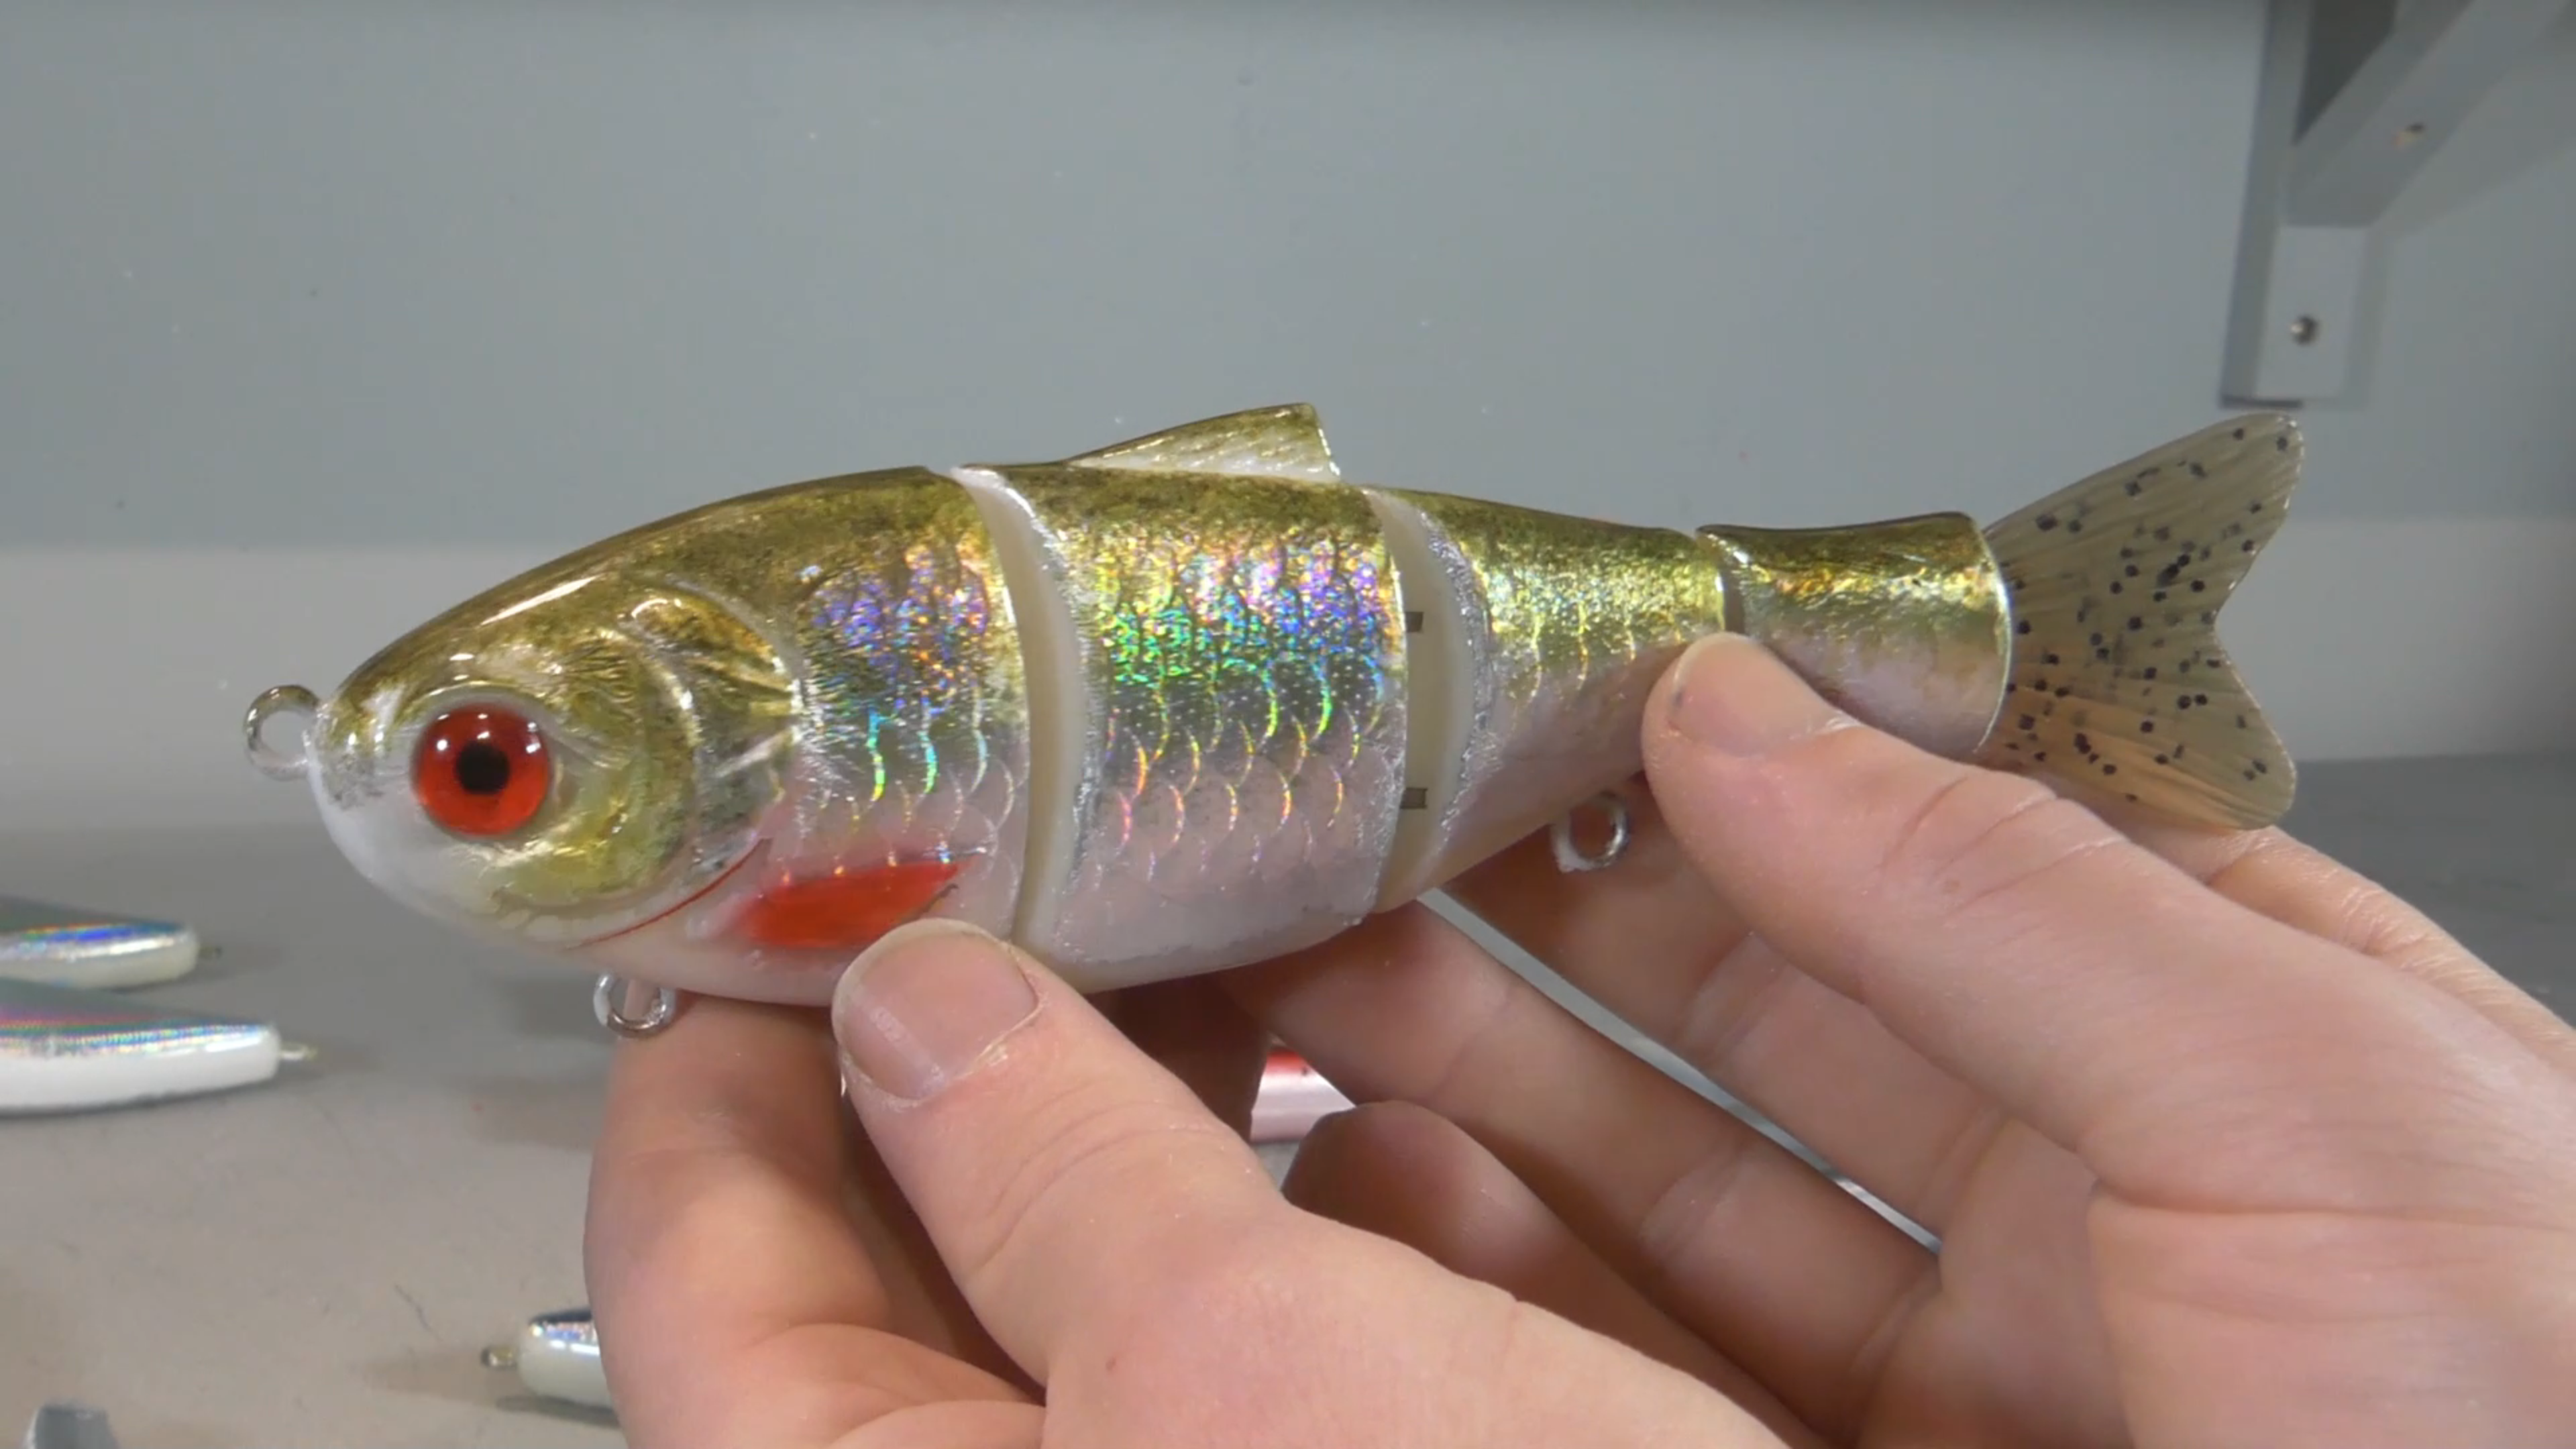
If you would like to preserve the foil more and make sure that you can wipe off mistakes or paint you can always clear coat the hot stamped lure first before painting.
I use both methods depending on what paintjob I am going to paint.
Here is an example of a wonderfull pattern on a hot stamped lure with abalone like hot stamping foil.
You can find our range of hot stamping supplies here.
If you have any questions about this feel free to contact us @ info@lureblanks.eu or on social media.
Thank you for supporting our small business!
Lure building regards,
Wannes